A month ago, my manager from LaughGuru gave me his old non-functional laptop. It was a six year old Dell Inspiron 15R 5520 notebook computer with 2GB ram, third-gen Intel i5 and a 500GB hard disk and weighted almost as much as Misty and my new Thinkpad combined. I couldn’t get the motherboard to boot up so I decided to take it apart (and given the condition of the laptop it made little sense to repair it).
I’ve found some really useful things inside the laptop. The two gig ram chip and the 500 gigs hard disk now sits on another water damaged laptop that my friend gave me a week ago and powers it flawlessly. The CD drive will come in handy someday as an external disk drive. I planned to use the display as an external monitor for my laptop, and that turned out to be a DIY project in itself.
Enter LVDS Connectors
So I isolated the LCD and looked very carefully for any hints on what sort of connector was that dangling from behind the panel. It had the word LVDS on it. Some Internet research later, things became clear. As alien as it sounds, LVDS or Low-voltage differential signaling is a standard that is used for high-speed transfers using very low power. For me, it simply meant that there’s no straightforward way of plugging the HDMI or VGA cable from my laptop into the bare LCD panel and start using it.
Unfortunately, there’s also no easy way of using the laptop’s motherboard logic to make the LCD panel work. Searching for a solution made it clear that LCD controller kit is what needs to be used. It is important that the exact spec of the LCD panel is known, as the kits are only compatible with a small range of panels. It might be difficult if the LCD was never working in your possession, as in my case, but this nice website called Panelook makes it easy to get the detailed spec of the panel from just the serial number. Things to look at are the resolution and the backlight type. The resolution needs to be an exact match and the backlight type is needed to judge if you’ll need an inverter with your controller kit. Mine was a WLED panel so no external power source or inverter needed. The next step is searching the serial number on ebay and other local hobby sites. I found a nice kit on Banggood and decided to order it.
Putting It All Together
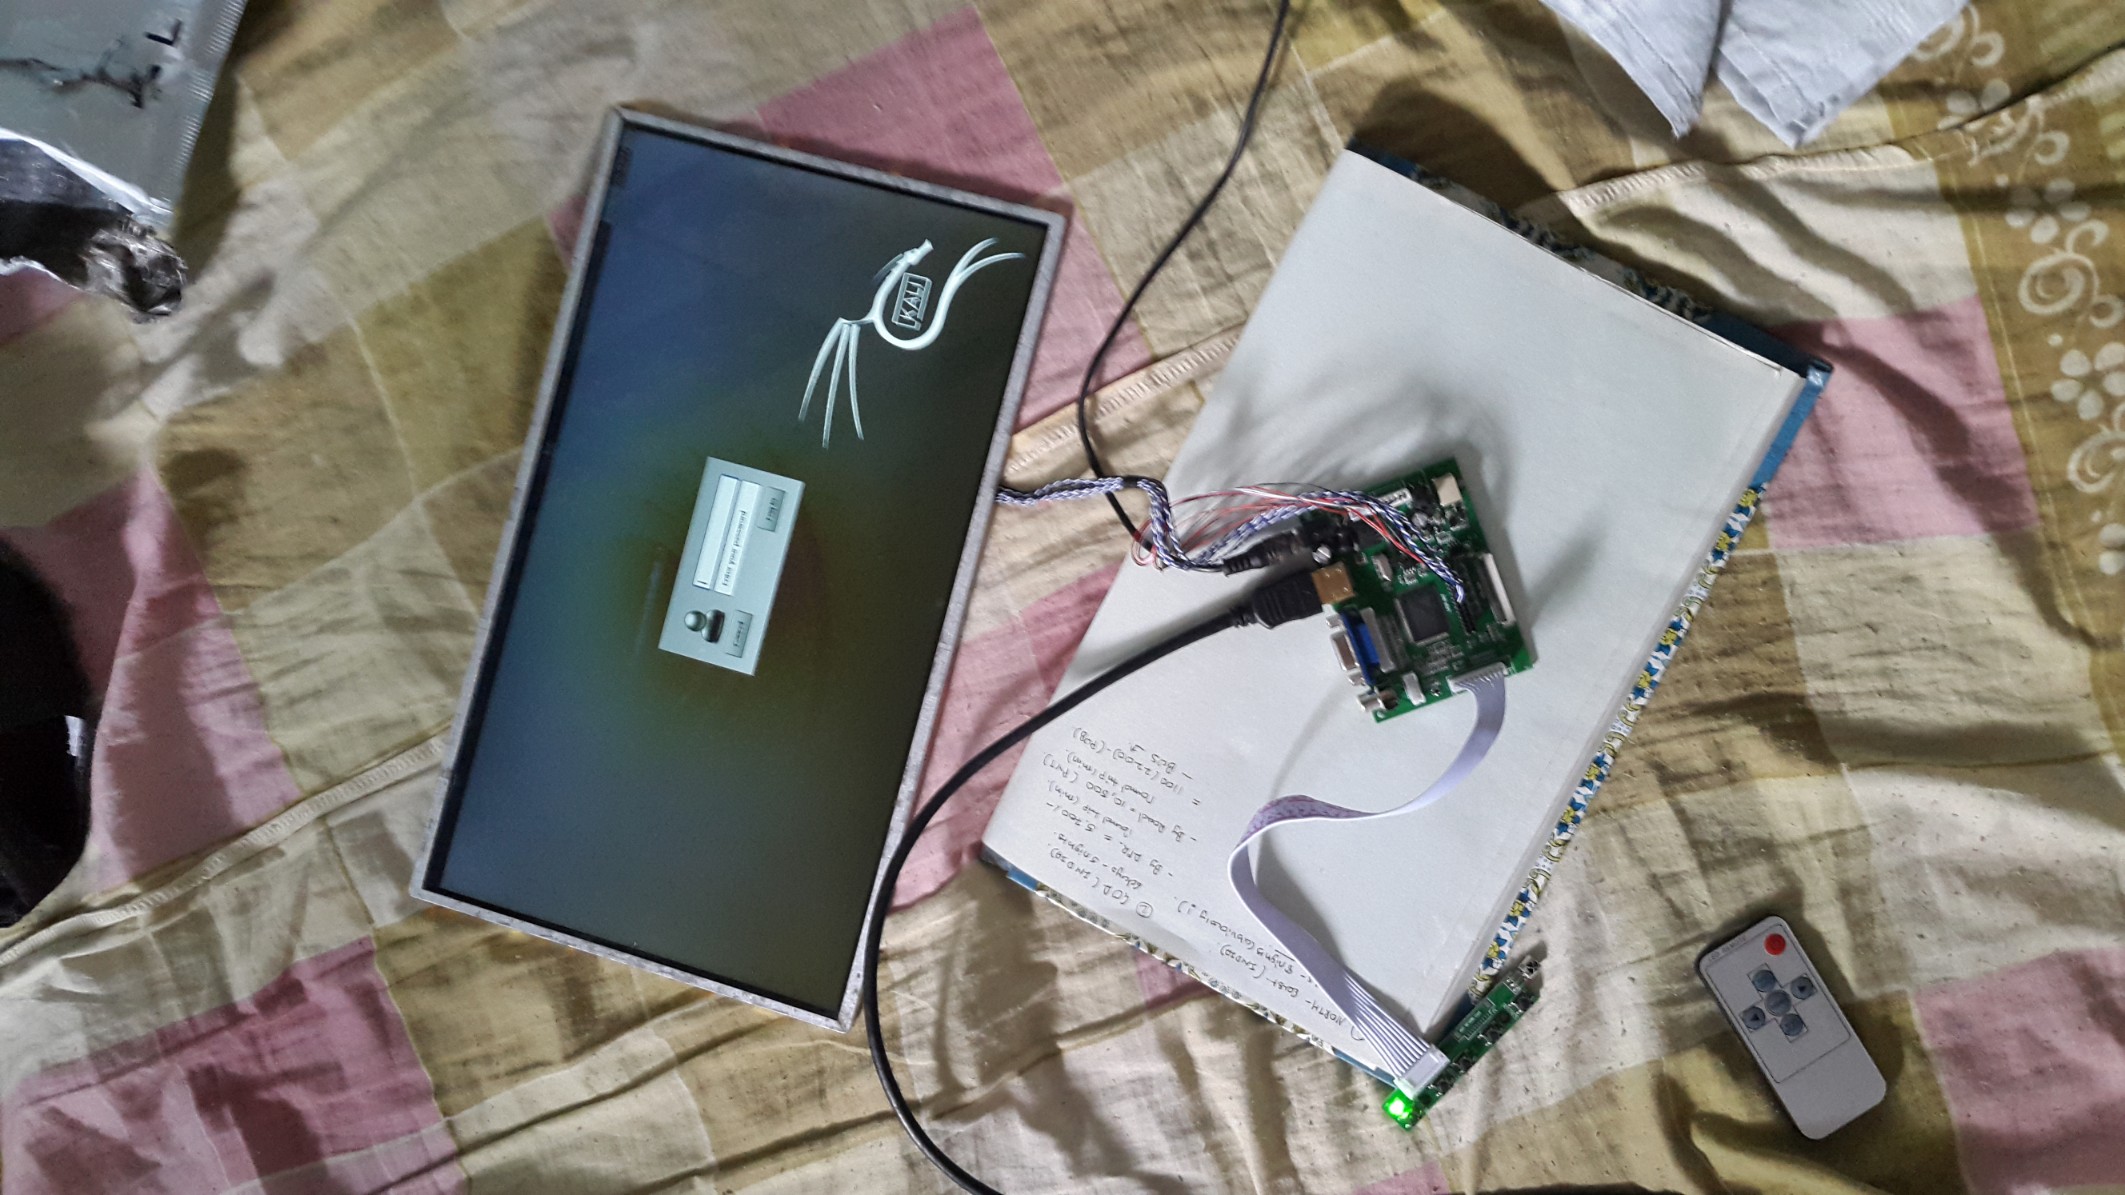
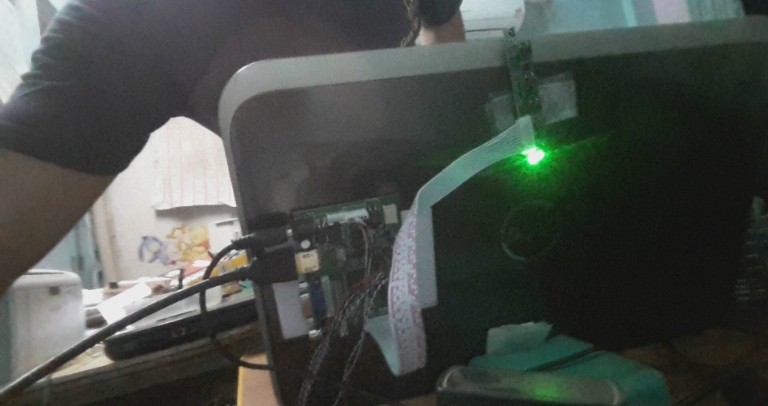
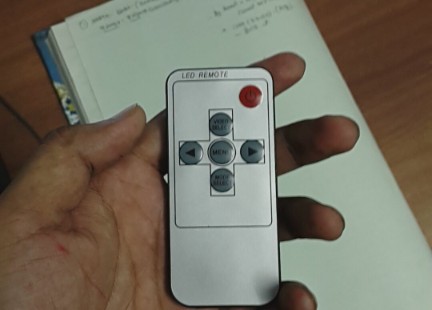
Interfacing was simple, and there are nice videos on the topic on youtube. There’s the LVDS connector that goes into your LCD panel. Then there’s the controls board that needs to be plugged into the main board. The controls board also has an IR receiver for remote control and can be used to control brightness, contrast, sharpness etc of the panel.
The board itself supported inputs through AV connector, HDMI, and VGA. It operates on 12 volts and 4 amps and luckily I had a 5 amps supply with me, so no extra expenditure there. I had to borrow VGA cable from a friend though as my laptop only has VGA and no HDMI.
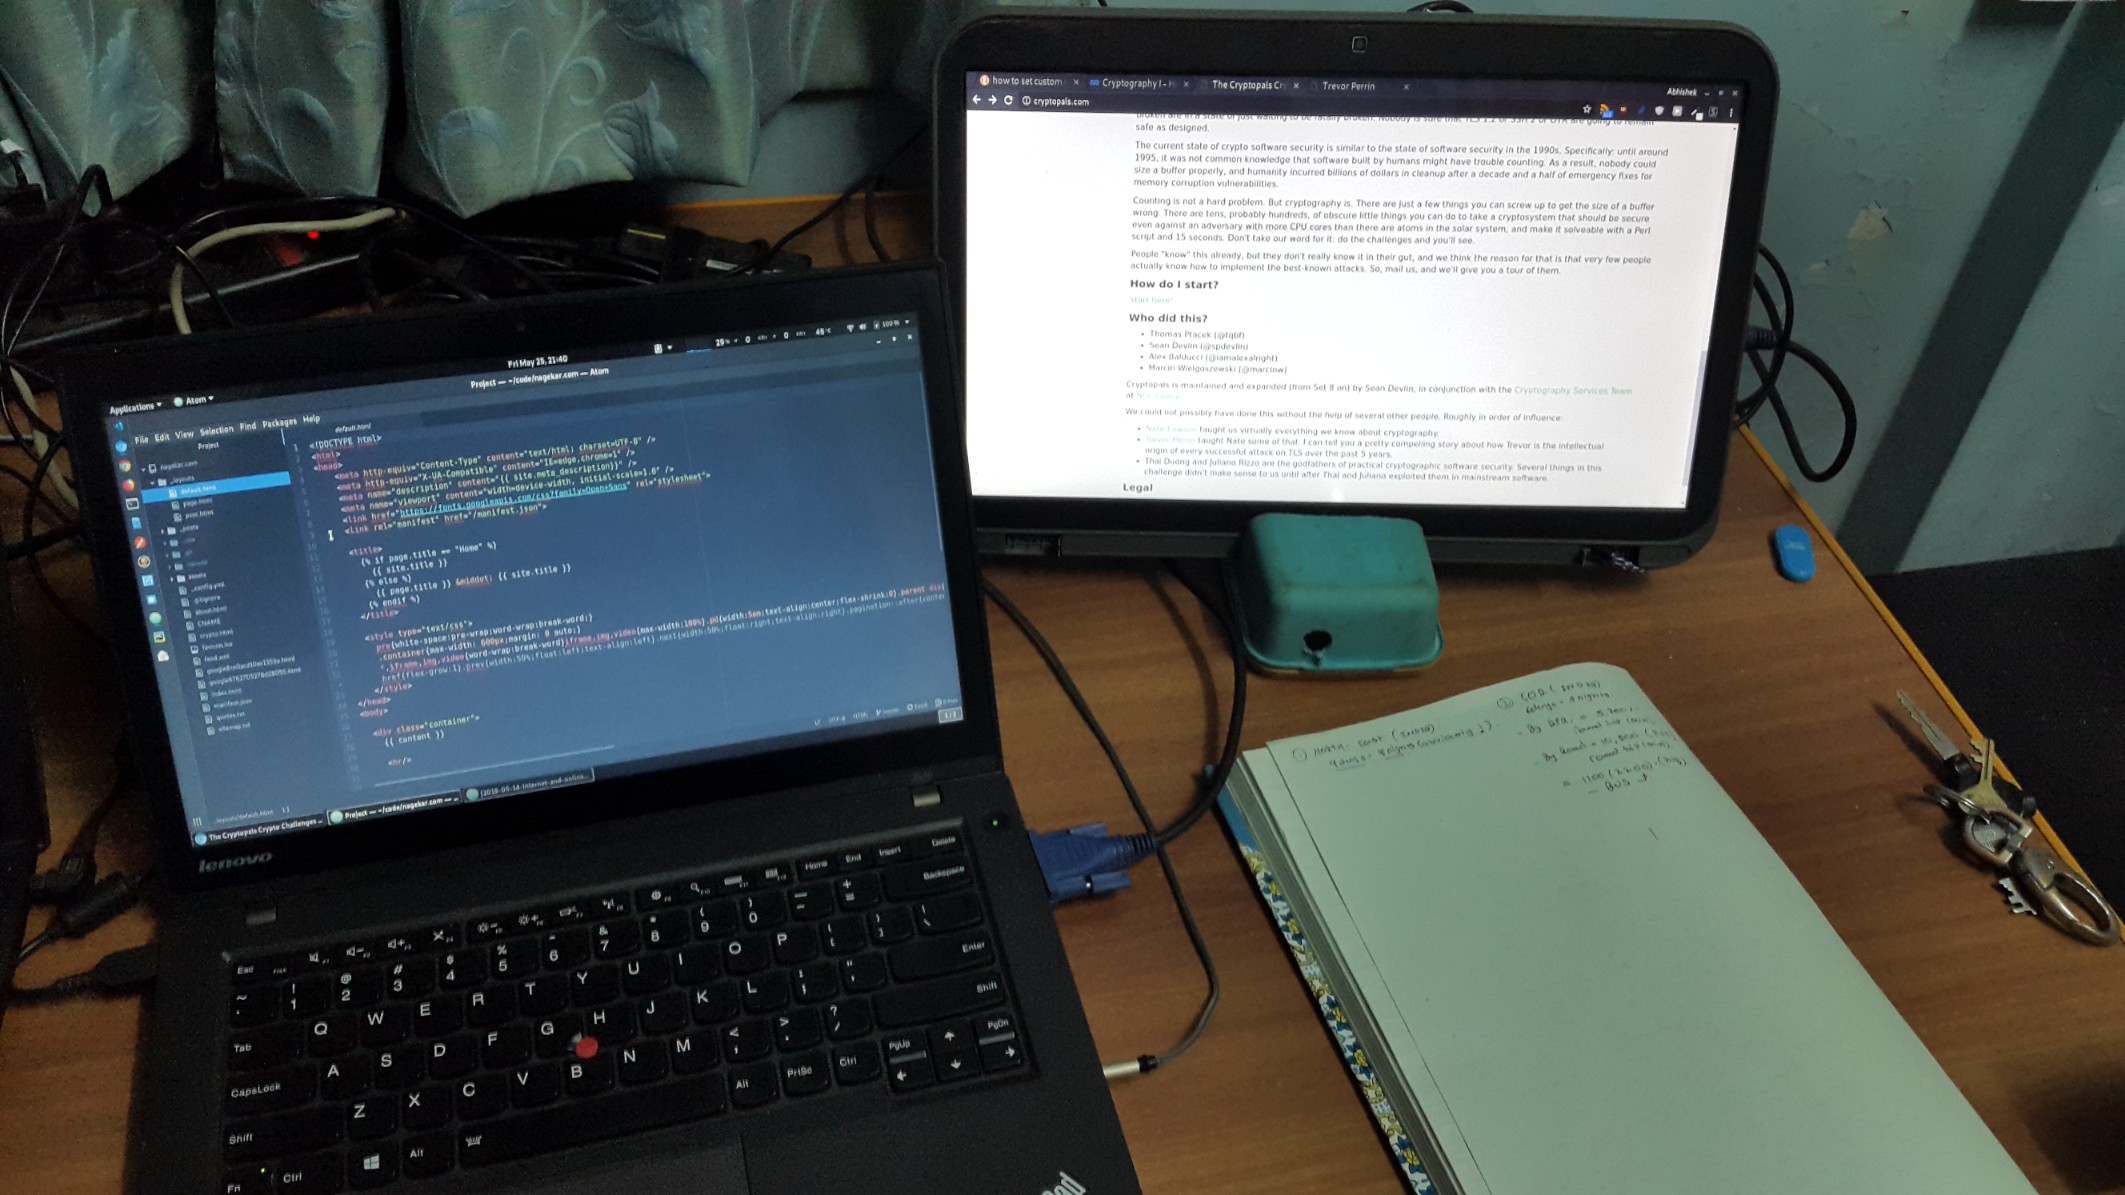
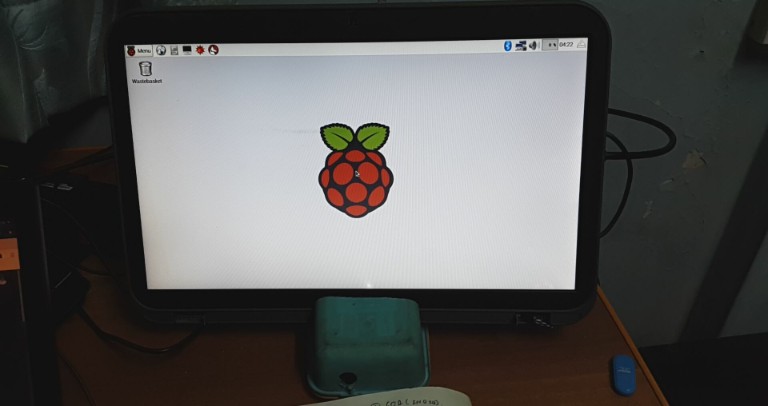
I used an old Tupperware tiffin box as the LCD’s stand to keep the delicate LVDS cables safe and away from physical contact with anything. To avoid physical damage to the panel, I’ve used the stock display cover of the laptop (the top half) as it was. The added benefit of using the stock plastic cover was that I could drill holes and fix the controller board on the back of the panel like an all in one PC (I could’ve literally made it an all-in-one PC by docking my raspberry pi back there as well, haha). Overall, I was very happy with the result, and as I write this, I have my editor on my primary screen and the browser on the extended display. Dual monitors at home achievement unlocked!
Hope you found this article useful. Thank you for reading!